AO1 - Develop ideas through sustained and focused investigations informed by contextual and other sources, demonstrating analytical and critical understanding.
Ideas
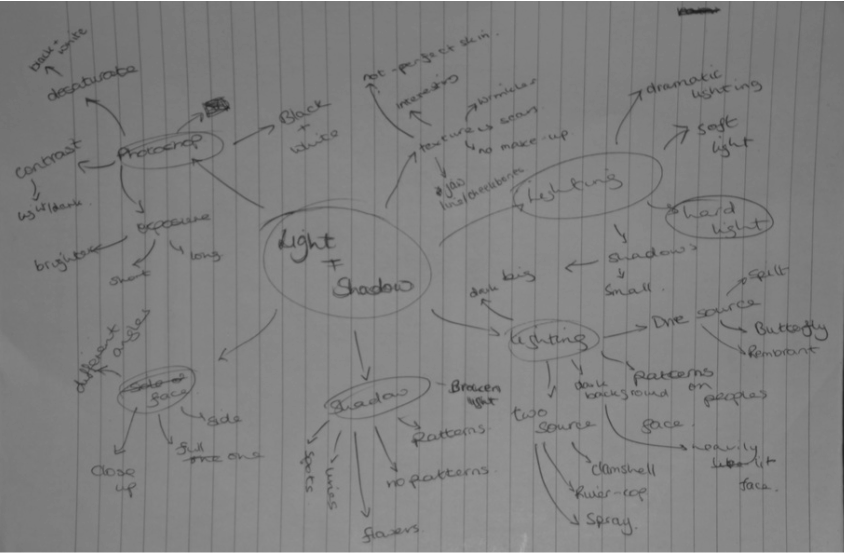
Brainstorm
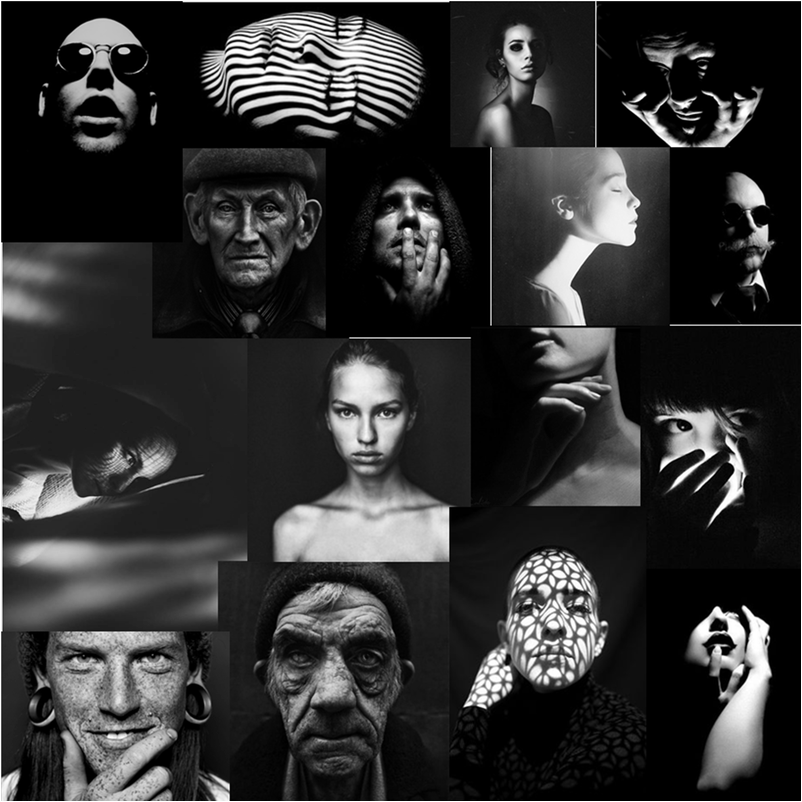
Mood board
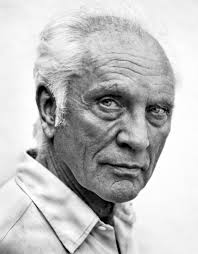
Betina La Plante |
'As humans we see the world in colour, it’s what we are used to. Stripping that element from a photograph forces us to look beyond the normal.'
|
Benita La Plante's photography is predominately portrait photography, working in black and white. La Plante captures the fine details in someones face and also strongly captures the emotions which are portrayed in her models facial expressions. The series of black and white portrait photographs inspired me because of the definition she captured and then drew it out through making the photograph black and white later on. Also this work is inspiring because they are simple yet intriguing this because the lighting that she has used clearly defines the peoples faces. Her work has inspired me due to the definiton and the feelings rhat she captures in each individual face.
|
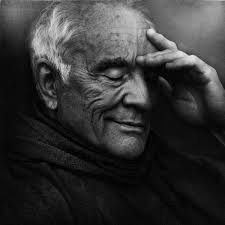
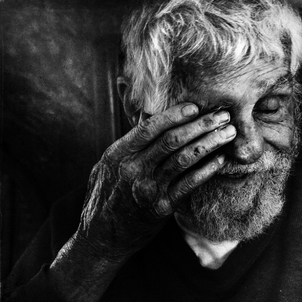
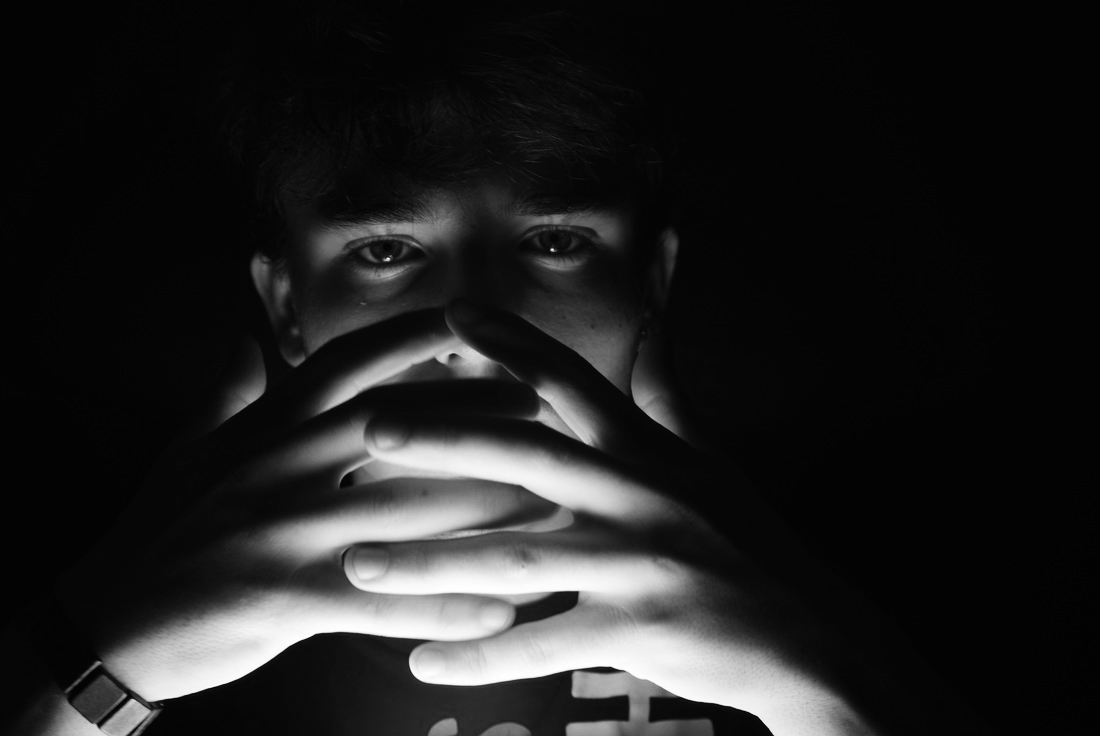
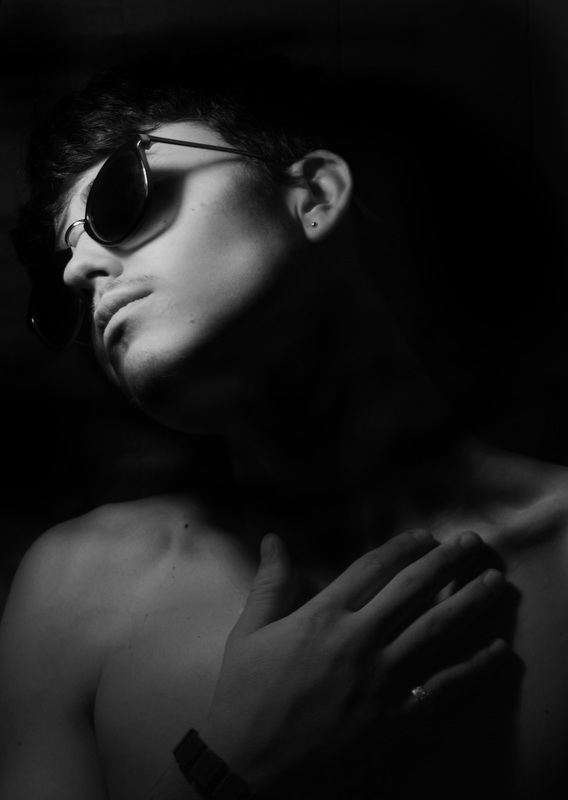
In this image, the photographer has used the technique f rule of thirds and I feel ha his effective because it helps to show the definition within his hand. I chose this photograph because I felt that the use of black and white in this image was highly effective because of the immense detail shown in the hand and beard especially. I would like to try and replicate a photograph of this style to see if I too can get that amount of high, emotional detail.
|
|
|
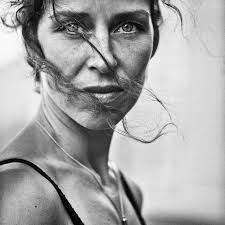
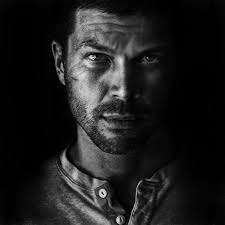
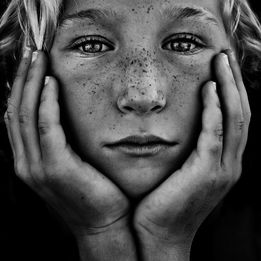
I chose this image also because of the detail shown within it. Also I like the use of black and white that this photographer uses in her photography, because she manages to desaturate her images but yet doesn't make them look 'flat'. This has inspired me because I want to be able to use black and white photography but still have depth to my photograph.
|
|
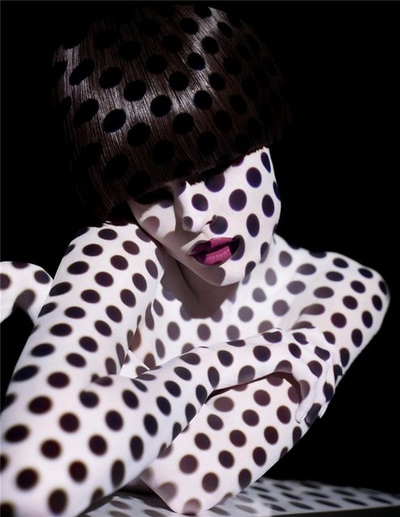
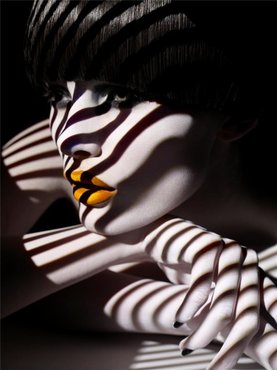
Sølve Sundsbø
Sundsbø is a Norwegian fashion photographer. In this photoshoot her intention was to create the shadows on the human body but to use them in a fashion way. This photoshoot inspired me to do the shadow photography because of the bizarreness of the photographs and how she's got the perfect amount of shadow.
|
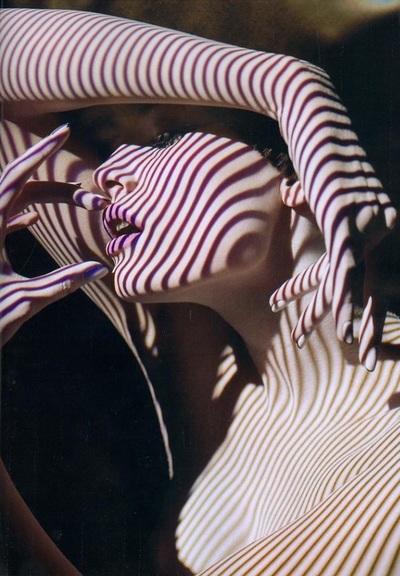
This photograph has inspired me into shadow photography because of the darkness of the lines that she has been able to create by simply using light and shadow. I am going to try and replicate this, however I may find it difficult to get a strong light to bring out the depth in the shadows
|
|
|
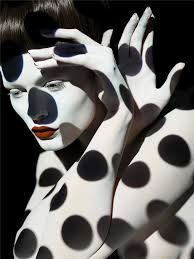
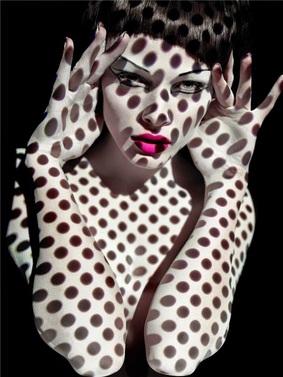
This image has also inspired me because of the vivid shadows the photographer has created and the colours that she uses in her photography are strong but subtle and I feel that this helps to create the photograph.
|
|
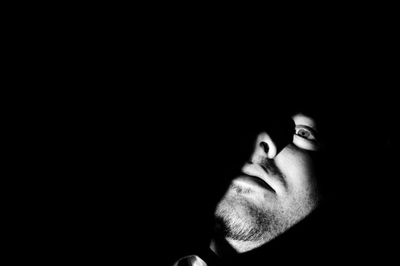
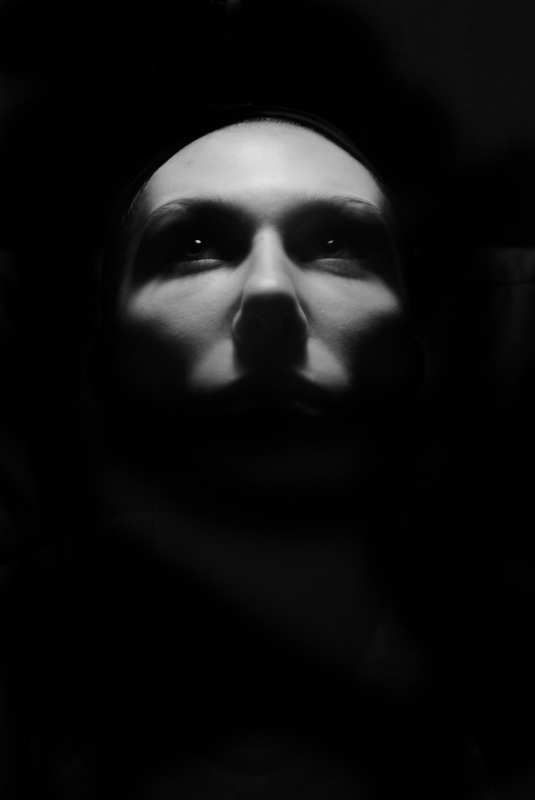
Derrick Tyson
Derrick Tysons photography is all black and white photography with heavy shadows, each different, on each photograph. His work is weird however the shapes and disfiguring he can create by using the shadows has inspired me through my own work to create different shadows on my models face and body, to then disfigure my own models through the use of shadows.
|
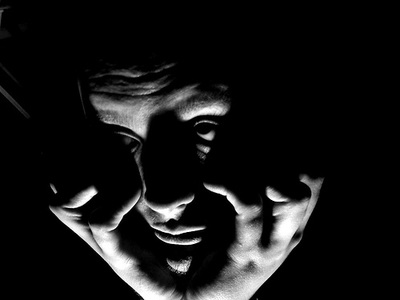
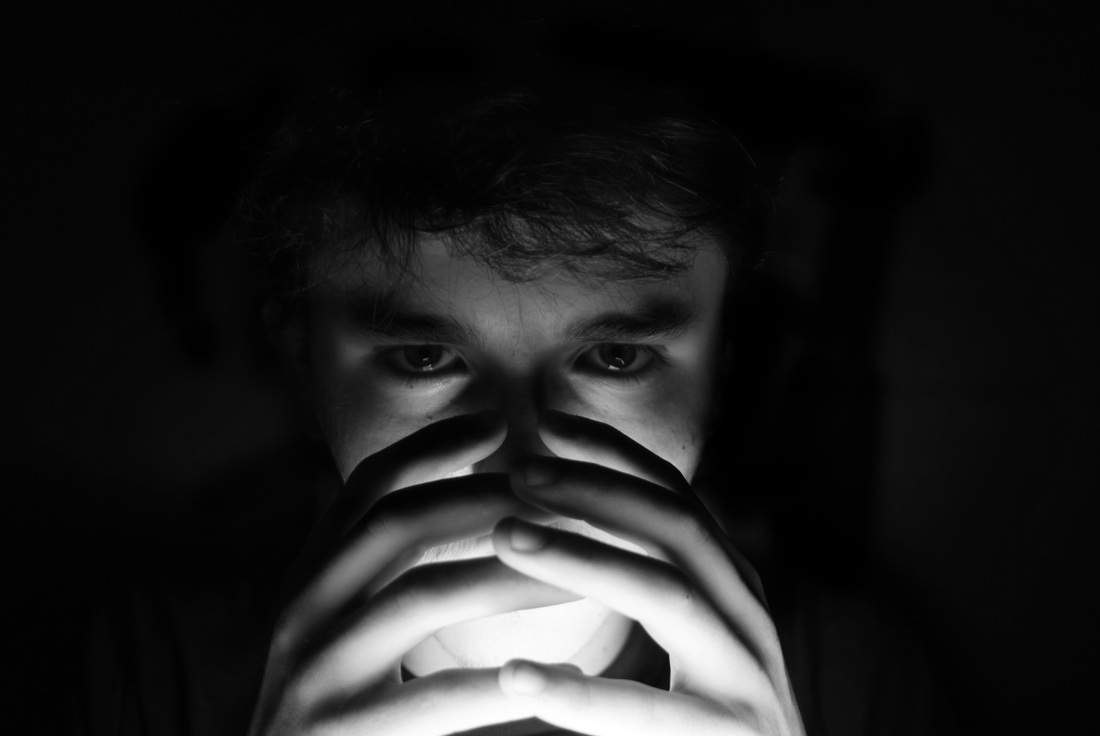
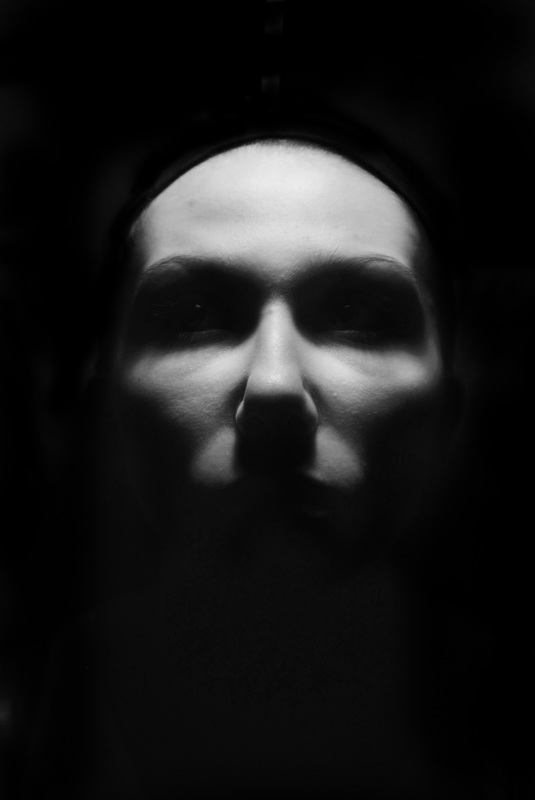
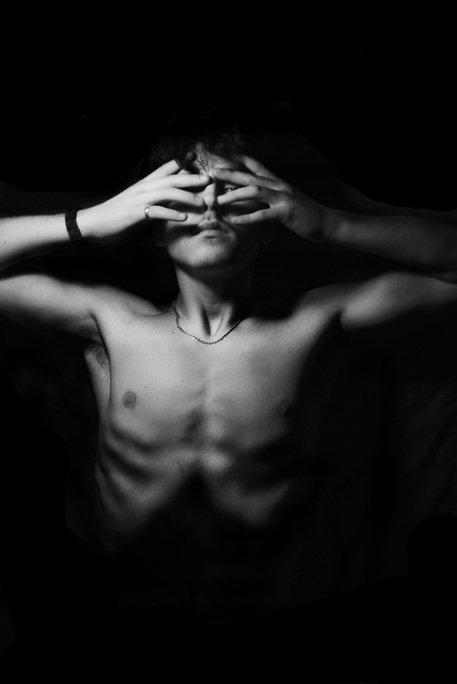
I have chosen this image because of the use of light and shadow which is inspiring me because of the depth this photographer has used. The theme of this photograph is clearly the use of light and shadow which is also my theme. The light in this has been exaggerated to make the darkness even darker.
|

|
|
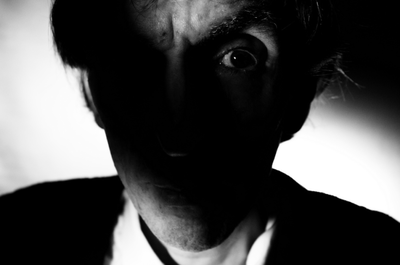
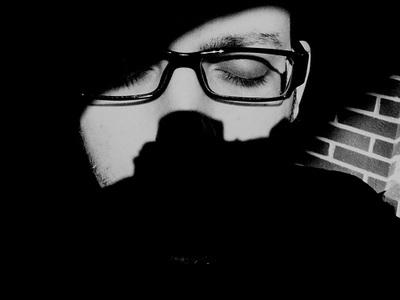
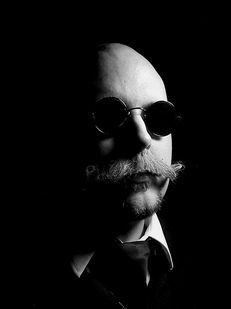
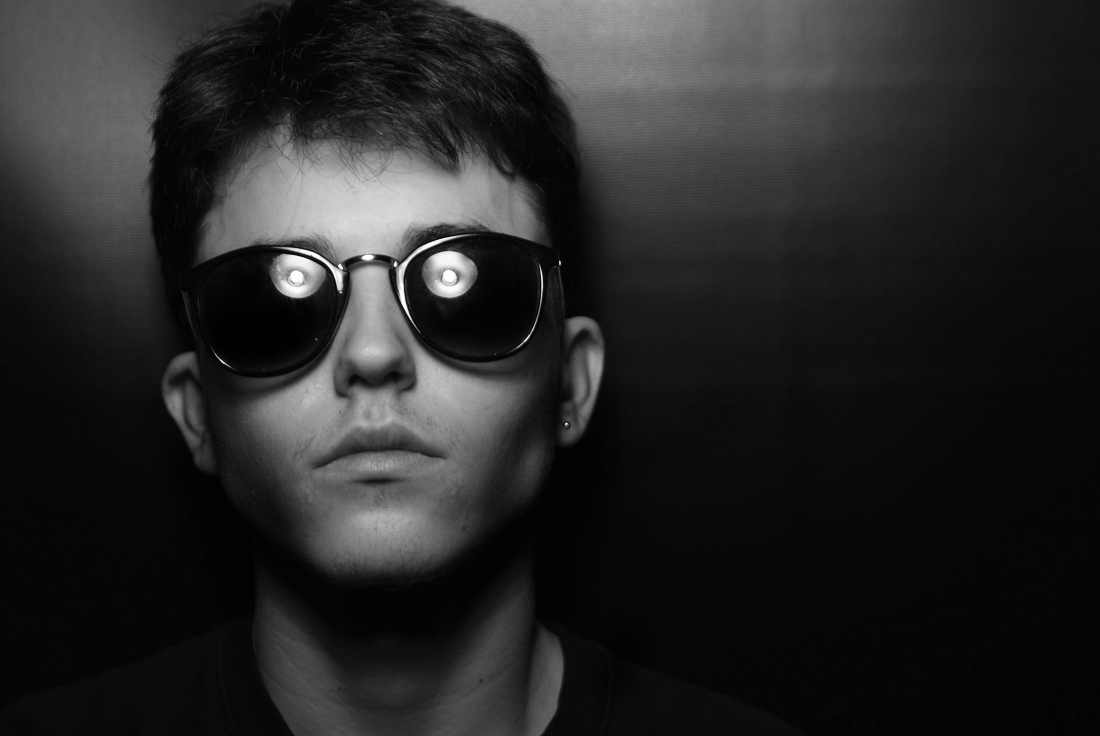
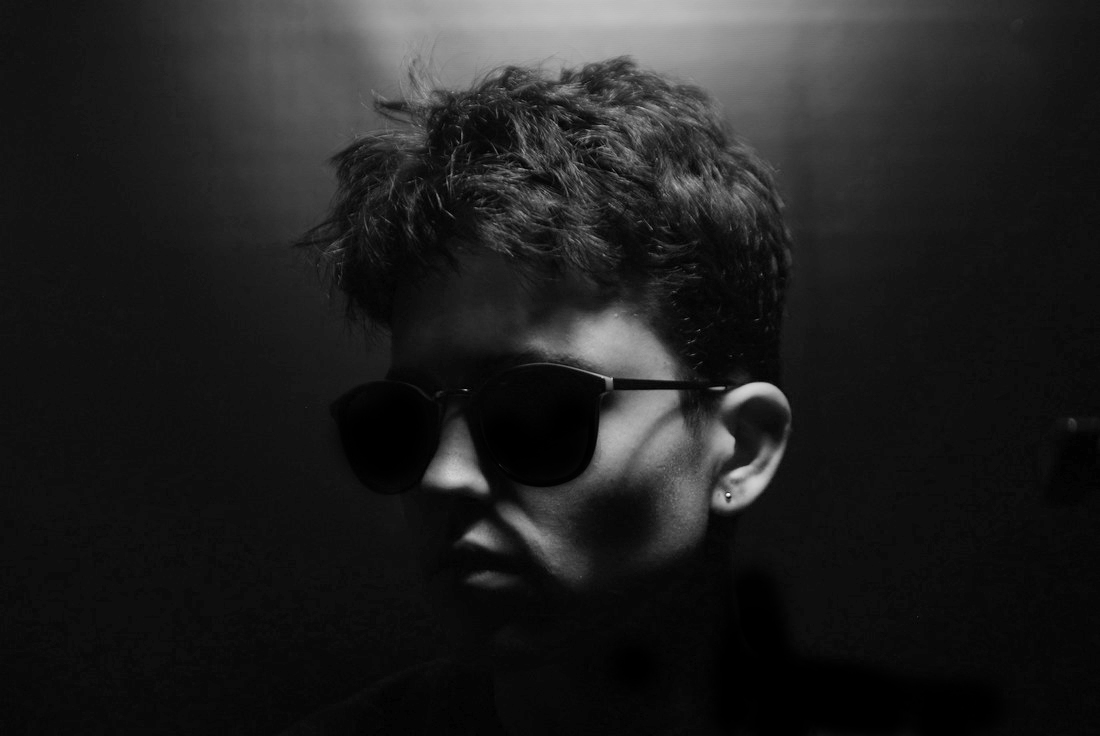
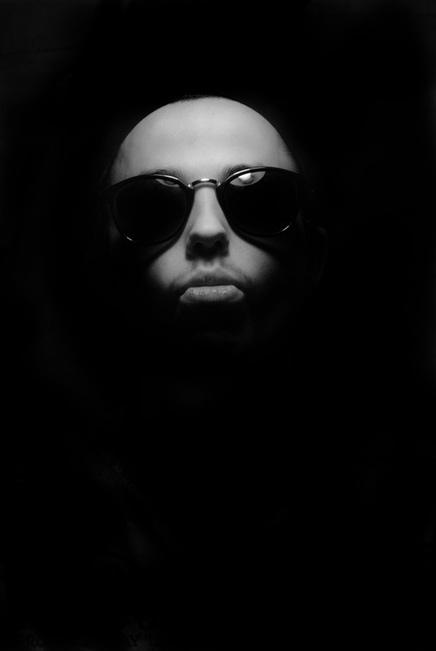
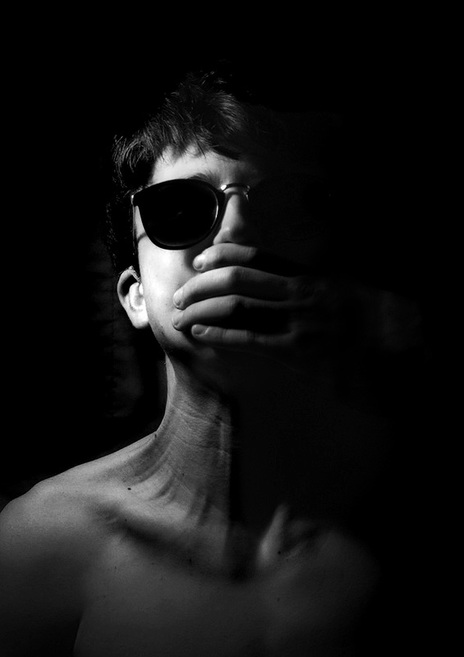
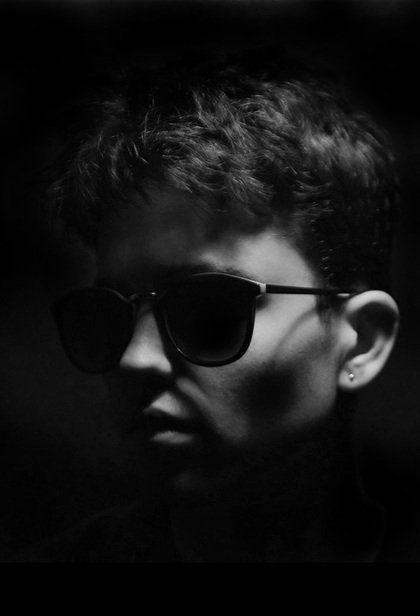
In this photograph the photographer has given the modal dark glasses to make the darkness stand out more against the lightness used in this photograph. This has inspired me because of the shadowing in this photograph. This photograph has been taken using extremely white, bright lights to get this distinct look. Also it has been taking in a dark room to get this contrast between the light and shadow. All of his photography in this work has been done in black and white with distinct shadowing.
|
|
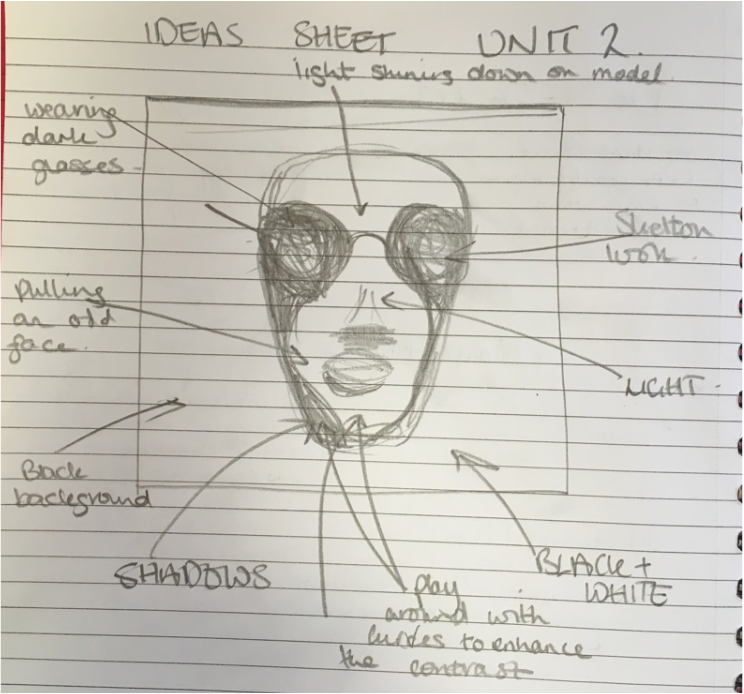
Ideas Sheet
|
|
AO2 - Explored select appropriate resources, media, materials, techniques and processes, reviewing and refining ideas as work developed.
Lighting Techniques
One Source Lighting
Butterfly Lighting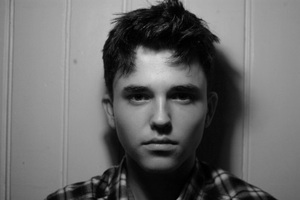
|
Rembrant Lighting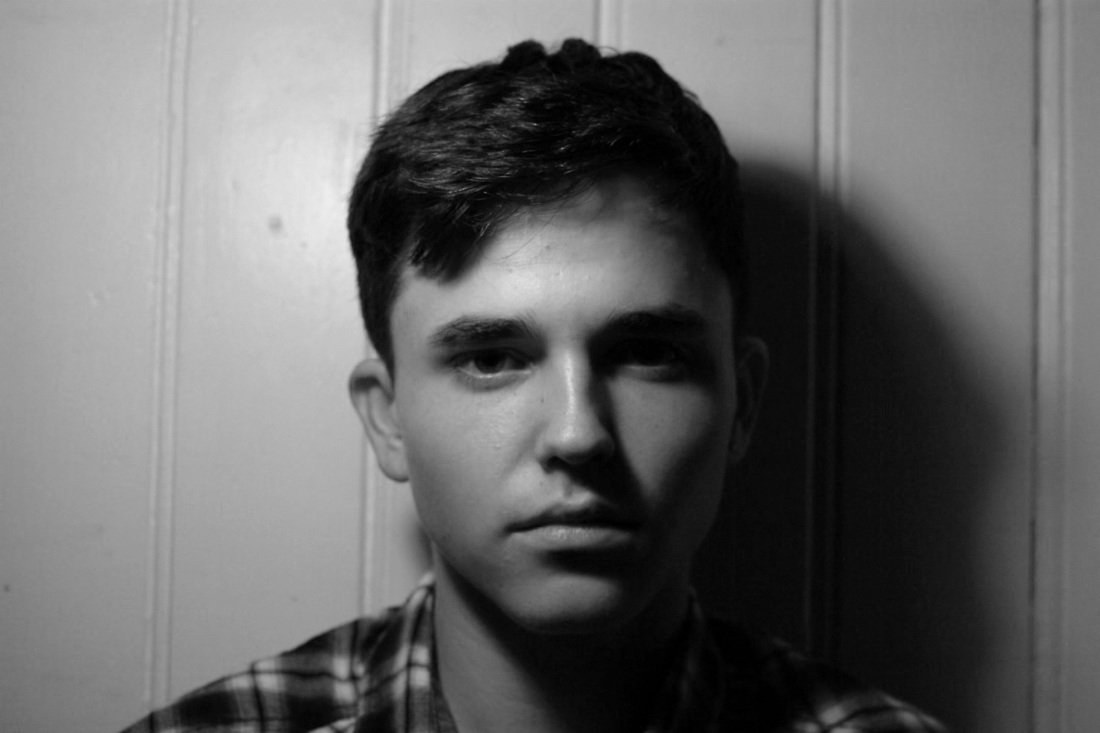
|
Spilt Lighting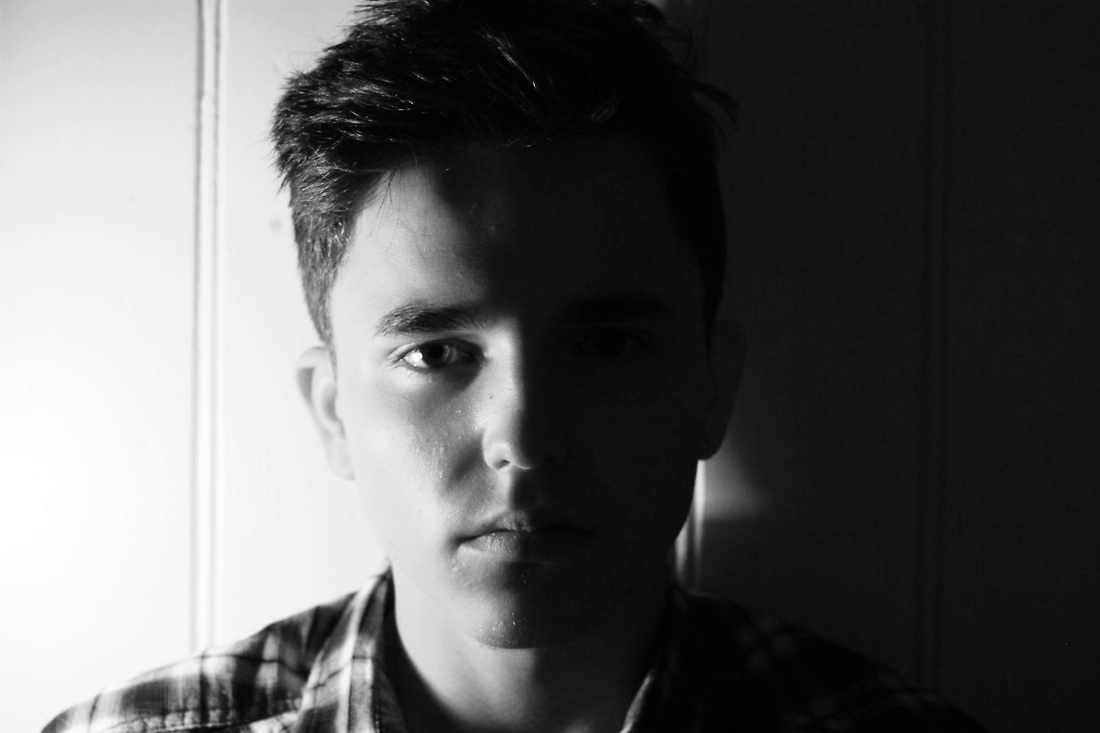
|
Two Source Lighting
Clamshell Lighting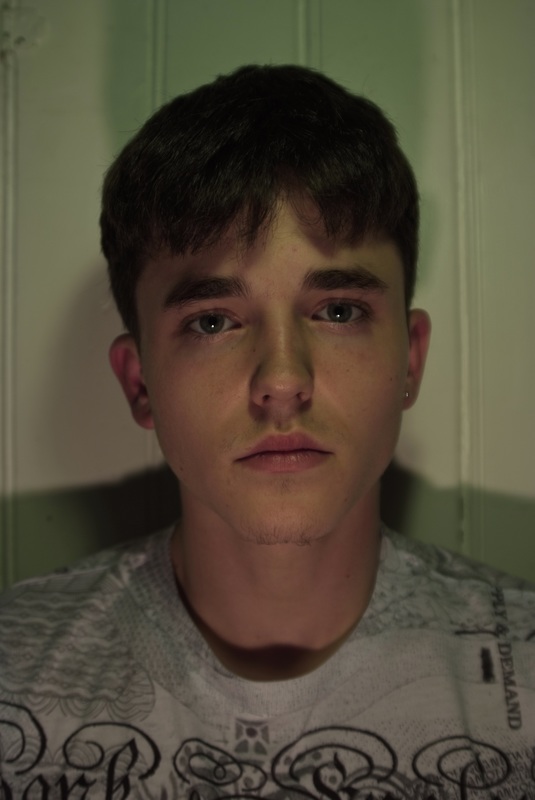
|
River-Cop Lighting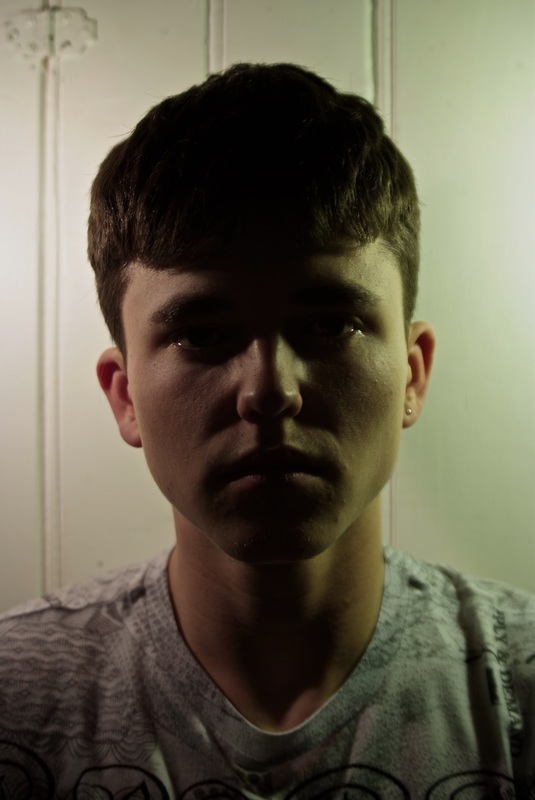
|
Spray Lighting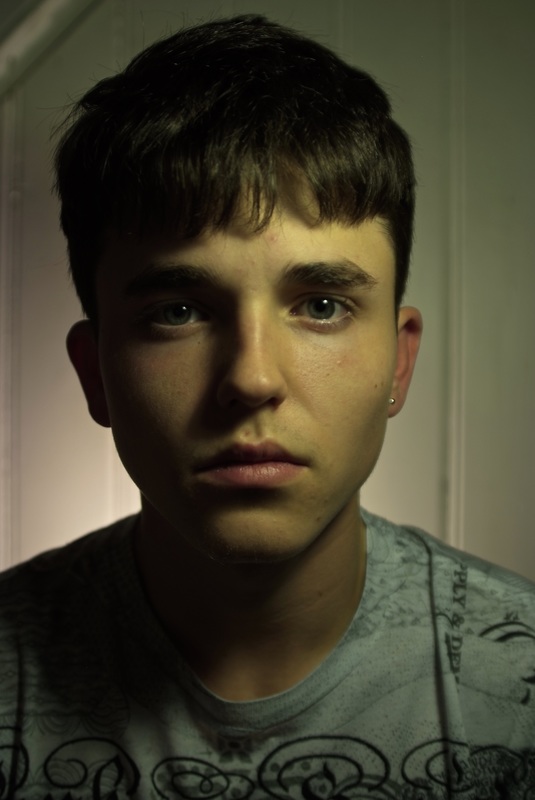
|
Photoshoot 1
In this photoshoot i intended to get different shadows on my models face. I used a fan and a knitted top. This photoshoot was successful in the fact that I had managed to get some shadows on the models face however my images weren't focused enough due to lack of lighting and the images were coming out red.
photoshoot 1 - photoshop edits
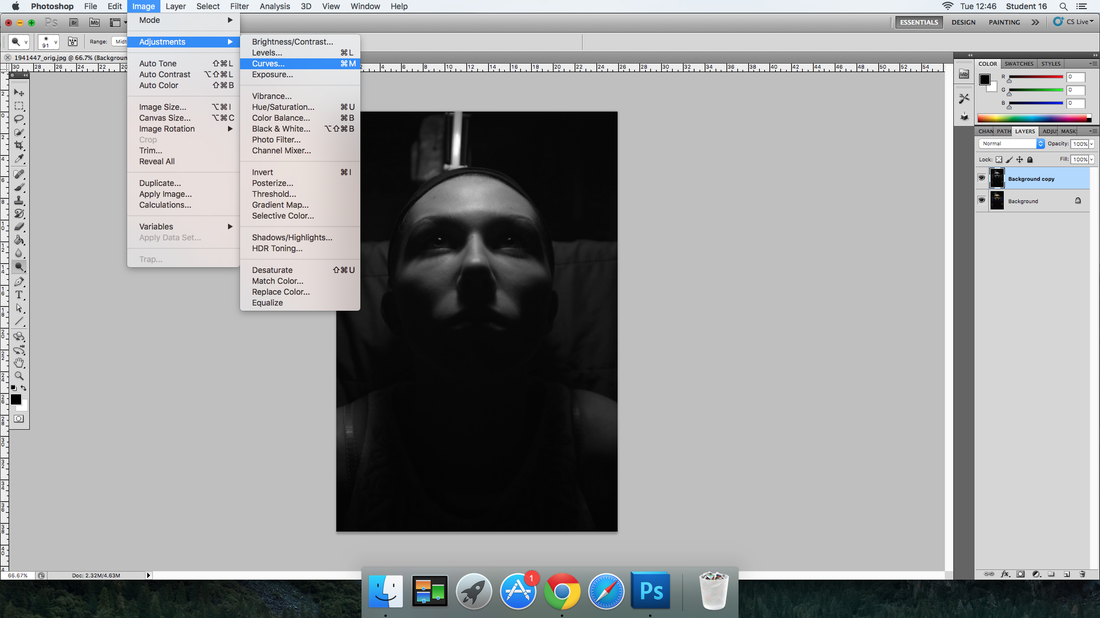
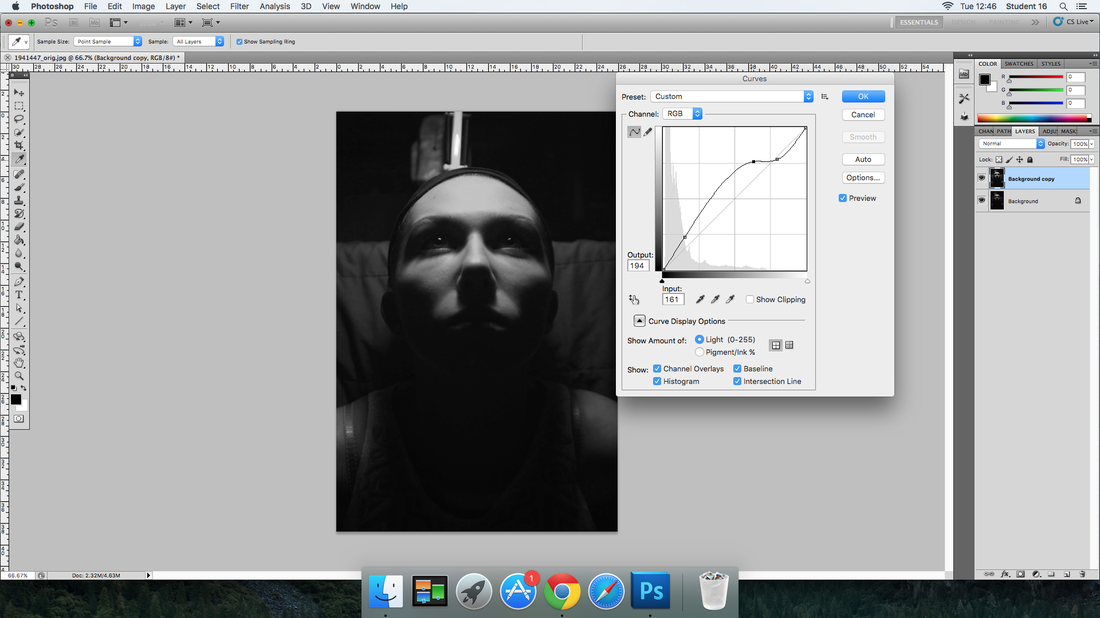
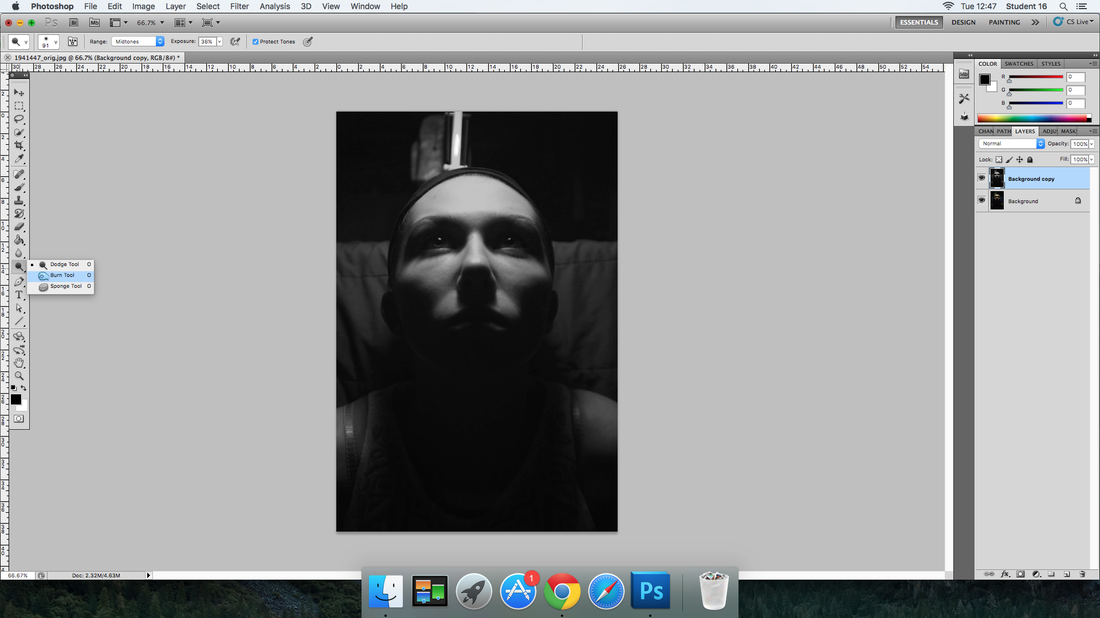
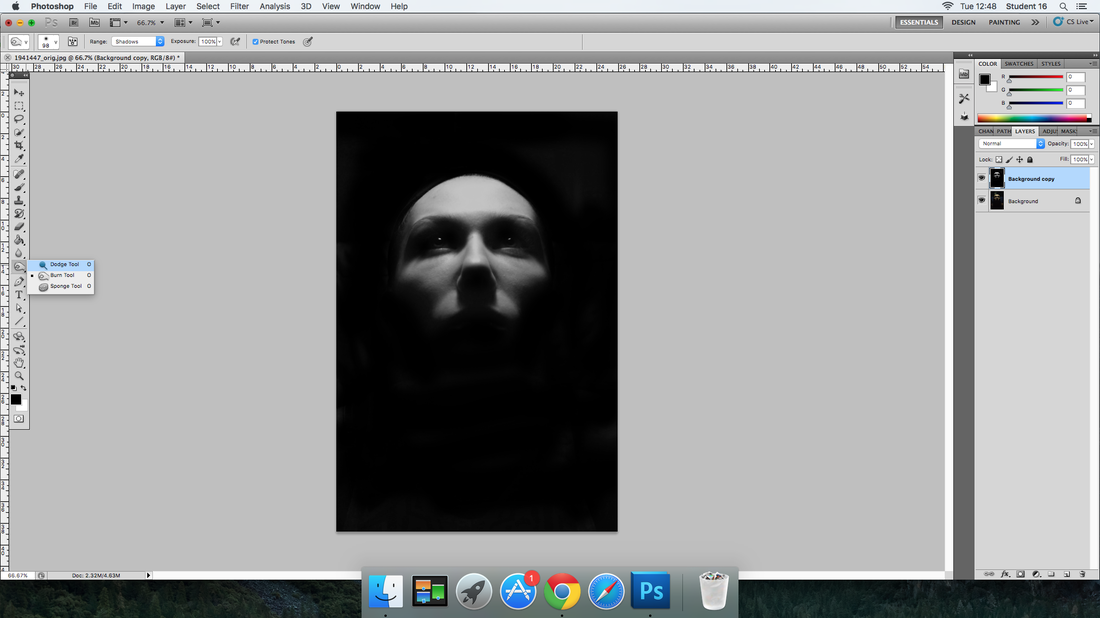
In this photoshoot edits, my intention was to enhance the shadows and the light on the face. This was helpful because I was able to work out how I could get the best enhancement and use the best tools.
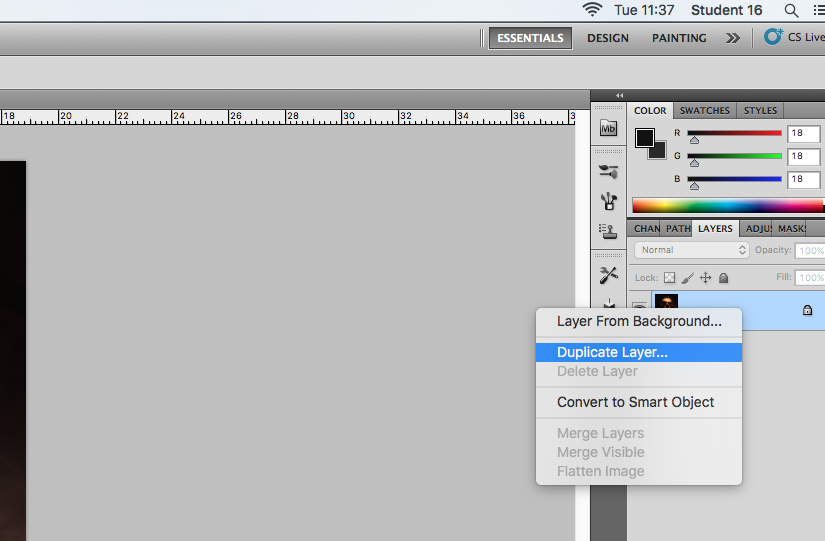
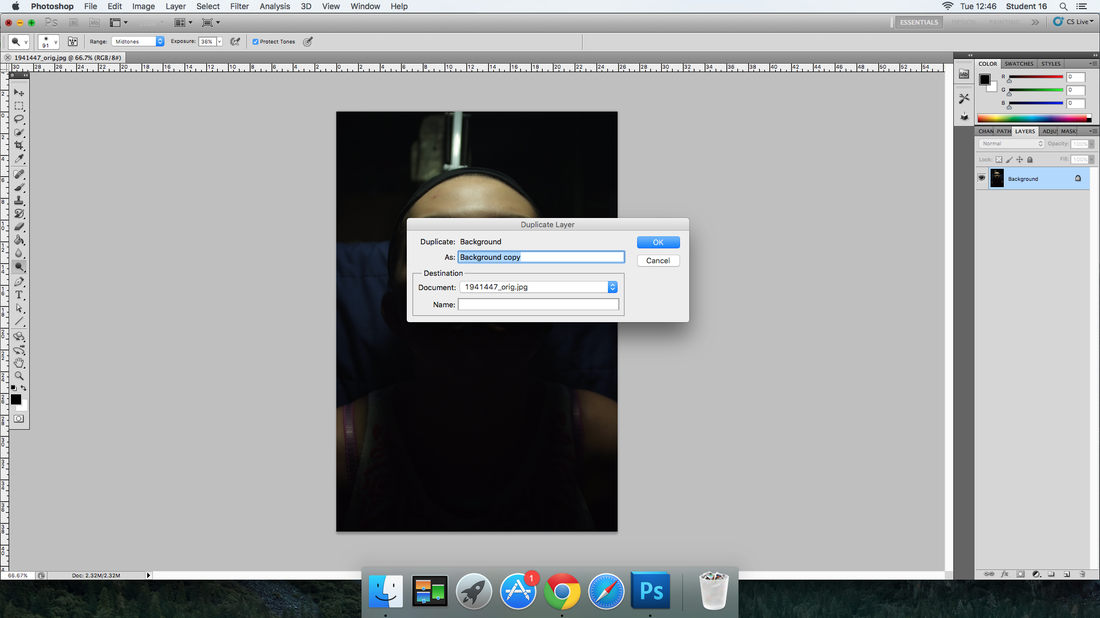
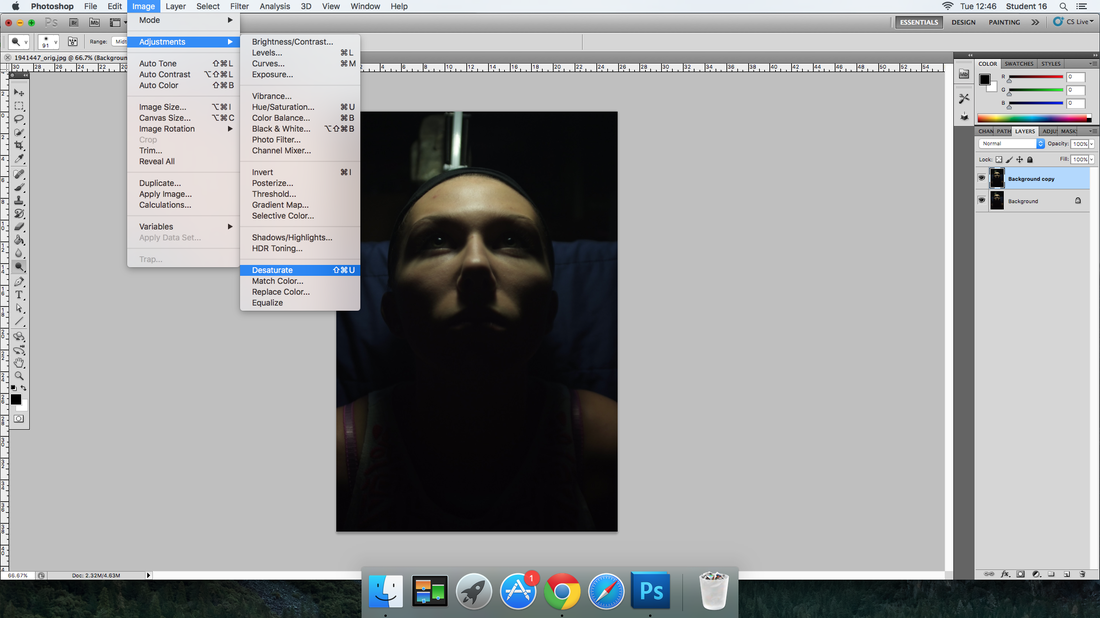
This is how I created the effect on Photoshop


Photoshoot 2
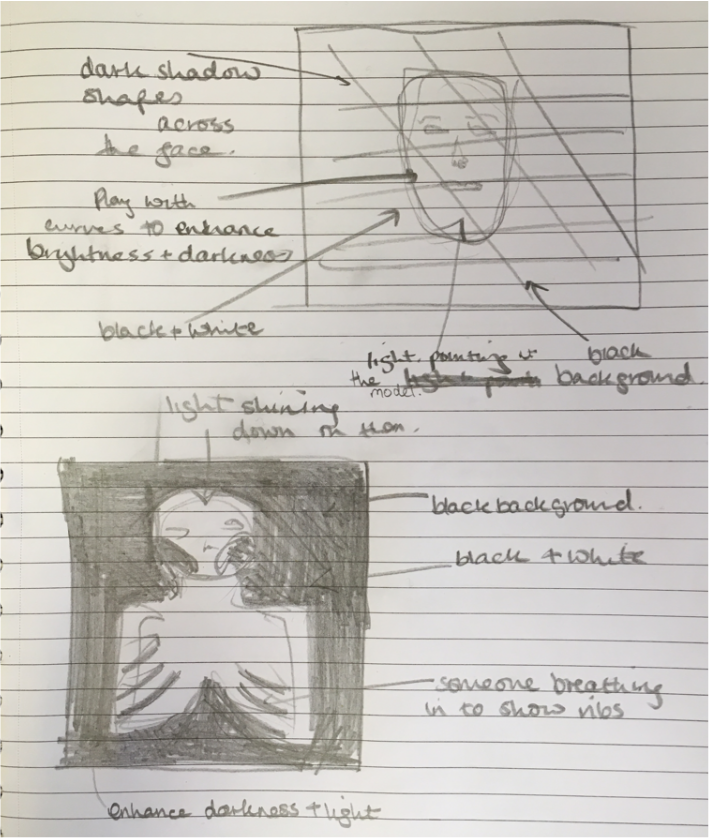
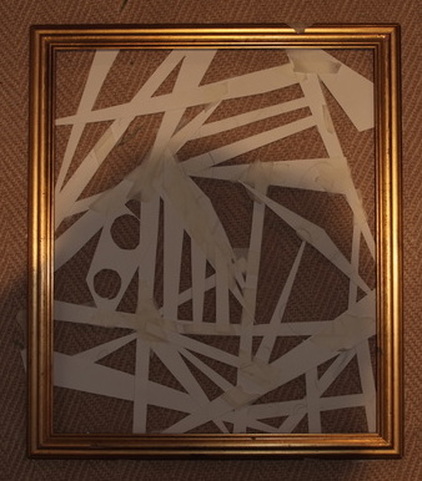
In this photoshoot I had intended to create shadows on my models face using a frame that I had made. This was partially successful because I was able to create the shadows on my models face. However it was unsuccessful because the lighting was poor and the white balance was making my images come out more red/orange than I would like.
|
I created this frame to get some shadows on my model in photoshoot 2. It did work to some extent, however if there was enough light the shadows where too faint, and if there wasn't enough light the shadows came out but the photograph was too dark. I created this frame using thick card and tried to create some shapes which would create different shadows on my models face.
|
Photoshoot 3
In this photoshoot I intended to exaggerate the shadows on my models face, however this photoshoot was unsuccessful due to the poor lighting. My light was too dark and the camera white balance was too dark as well and this caused my photographs to produce badly, also this photoshoot was unsuccessful because I couldn't get my photographs in enough focus due to the lack of light, also it was unsuccessful because my model was coming out red or yellow. In this photoshoot I intend to create shadows on the face using the facial features. I intend for the model to wear dark sunglasses to get an exaggeration of shadow on the face. This photoshoot was
Photoshoot 4
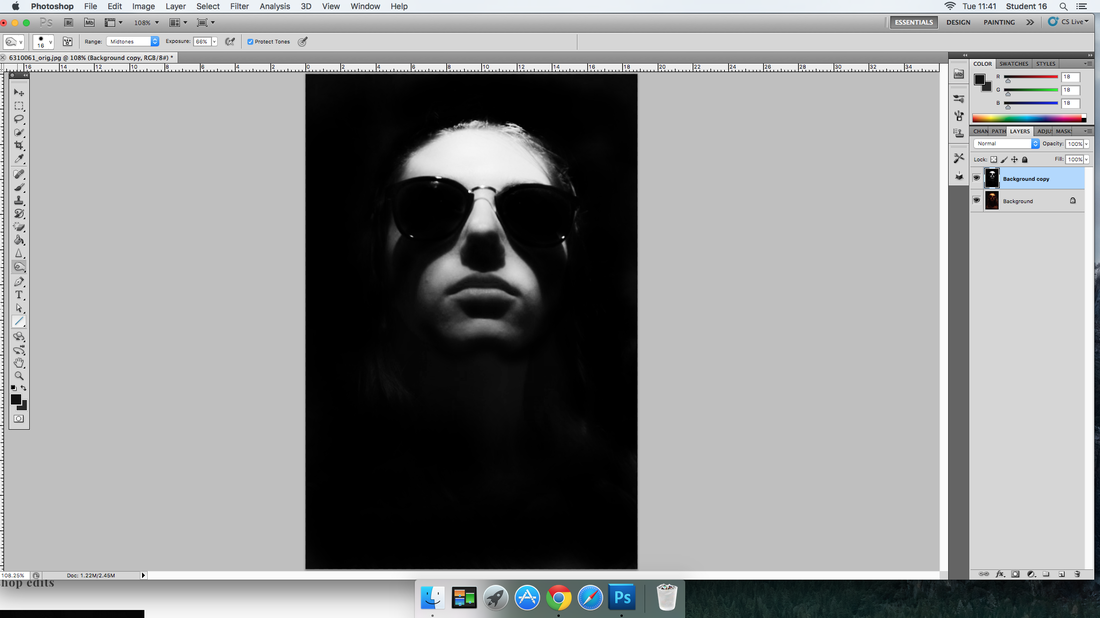
In this photoshoot I intend to create shadows on the face using the facial features. I intend for the model to wear dark sunglasses to get an exaggeration of shadow on the face. This photoshoot was nearly successful because I had got the right amount of light on my model however some of the photographs were slightly unfocused.
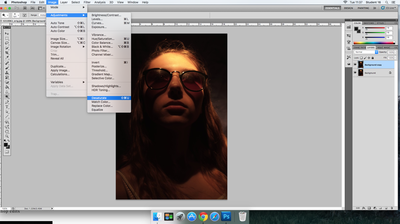
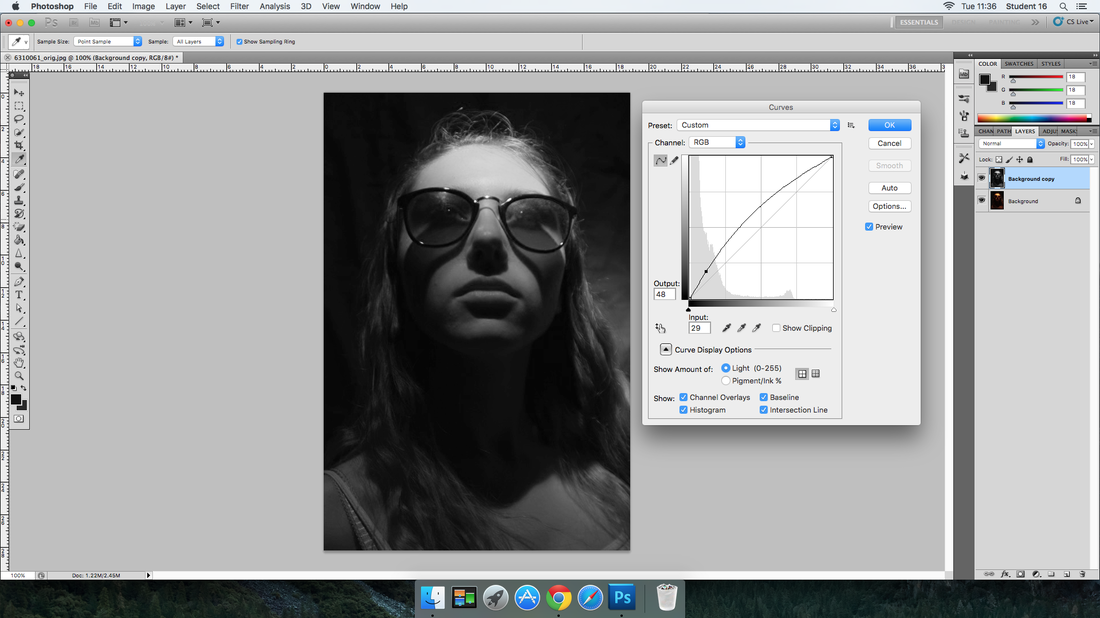
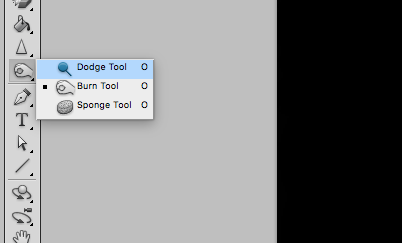
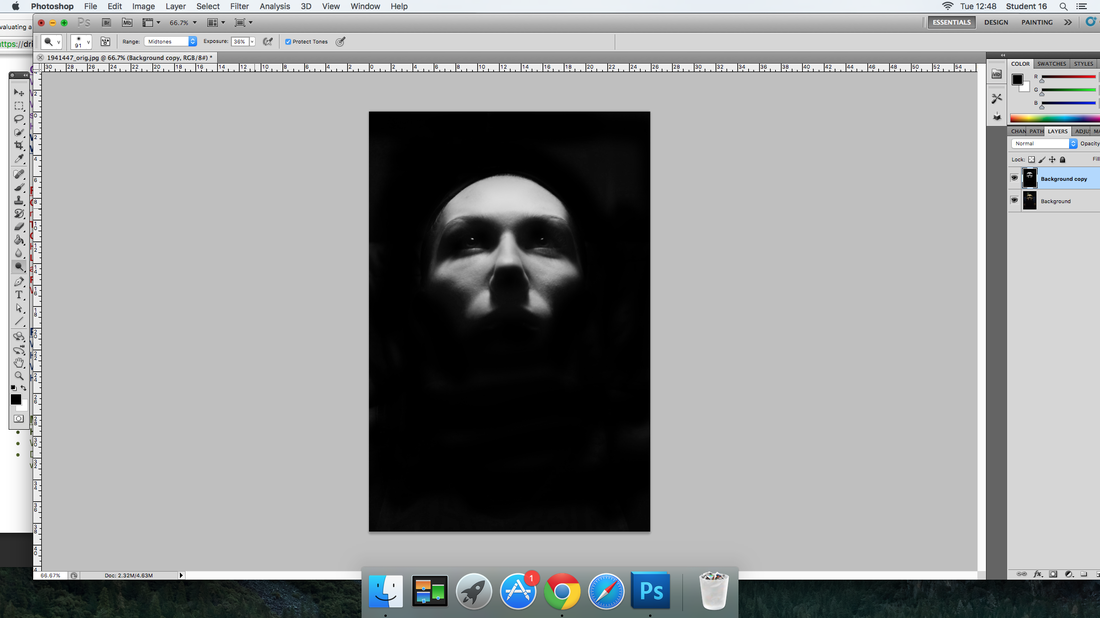
Photoshop Edit of photoshoot 4
In this photoshoot edits, I played around with the curve levels, the burn and dodge tool and also desaturated my images like the previous photoshop tutorial. These were successful because I was able to play around with tools more and became more advanced in them.
Photoshoot 5
In this photoshoot my intention was to get the white balance better and also to create different shadows on the face. howrver this photoshoot was unsuccessful again due to the poor lighting. I am going to, in my next photoshoot, change the lighting and focus on the shadows that the face can make instead of creating shadows on the face.
AO3 - record ideas, observations and insight relevant to intentions, reflecting critically on work and progress.
Photoshoot 6
In this photoshoot, my intention was to create a skeleton look by using the light. This was partially successful because I got the lighting right, however my images were too dark - therefore in my next photoshoot I am going to get better lighting.
Photoshoot 7
In this photoshoot my intention was to gain a better light than in the previous photoshoot. This shoot was successful because my pictures weren't too dark and I was able to get a blue tint by using the white balance - and this added emotion to the shoot and therefore I was able to get a better contrast with the light and shadow in editing them.
Photoshoot 8
In this photoshoot my intention was to create a skeletal image. By creating this I had to have the light in the perfect position to created a 'sunken look'. This photoshoot was successful because I was able to make my model look like a skeleton. I then did further editing the same as I did earlier on to make the image black and white and get a more sunken look.
Photoshop edits of photoshoot 8
In these photoshop edits, I did the same thing that I did in my previous images. By doing this I was able to capture the shadows that the bones create and make them look skeletal.
|

|
Photoshoot 9
In this photoshoot, my intention was to get more skeleton like images, by doing this I asked my model to breathe in an look kind of destressed. This photoshoot was successful because I was able to get as many shadows as I could to show the skeleton on my model. Also I was able to further edit them to make them look more 'bazaar'.
AO4 - Present a personal and meaning full response that realises intentions and, where appropriate, makes the connections between visual and other elements.
Final Pieces |
To create my images, I did the same photoshop techniques as in the previous photoshop tutorial.
|
|
|
|
|
